Nothing is for sale here. Freewill tips keep the site running. Want to help? → Tip via Paypal
Rotate Content | Spinner to Win
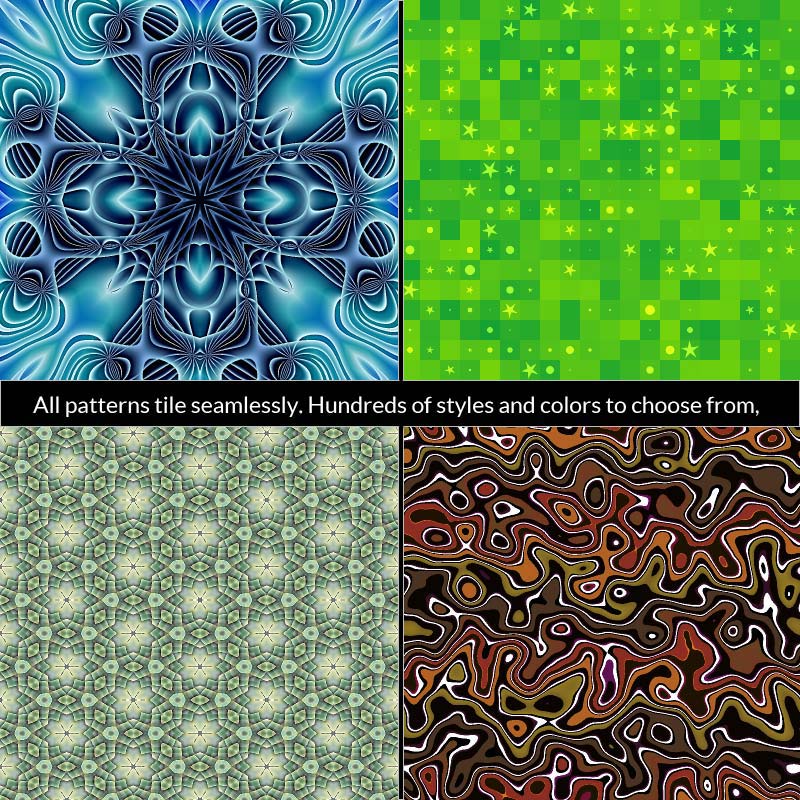
 Place your cursor on the Background Magic image over yonder.
Nifty trick, eh! I used that in one of my newsletters to link to my Background Magic software when I sold software. Works on text, too. It's a unique way to add a little difference to a promotion of any kind: a product, a sale, an email subscription, a freebie, or just about anything else.
This "special effect" uses the CSS transform property, plus the code includes vendor prefixes for as much backward compatibility as possible. Older browsers will just display a static image, so it's safe to use.
Since the "magic" is in the CSS code, we’ll look at that first.
.rotate:hover
  {-webkit-transition: all 1s ease-in-out;
  -moz-transition: all 1s ease-in-out;
  -o-transition: all 1s ease-in-out;
  -ms-transition: all 1s ease-in-out;
  transition: all 1s ease-in-out;

  -webkit-transform: rotate(720deg);
  -moz-transform: rotate(720deg);
  -o-transform: rotate(720deg);
  -ms-transform: rotate(720deg);
  transform:rotate(720deg);}
Let’s take that line by line…
Lines 2 – 5 are vendor codes that tell some older browsers how the transition should be applied. The "transition" is a timing mechanism. I used ease-in-out, which means the transition will start and end a little slower than the middle part.
Line 6 is the actual CSS property. That goes after the vendor codes to make it most important in the cascading order. In other words, it's the last instruction for the transform property, so it's the one CSS compliant browsers will follow. Otherwise they'll fall back on the vendor codes. If a browser is too old to follow the vendor codes then the element won't rotate, but that won't cause any problems.
In lines 2 – 6 you also see "all 1s" before the ease-in-out timing mechanism. The "all" part means the transition will be applied to all element’s properties. The "1s" means the transformation will play for 1 second from start to finish. You can also use decimals, so 2.5s means the transition would take two and a half seconds to play.
Here are the timing options:
ease | linear | ease-in | ease-out | ease-in-out
There are other options as well, but they're not as simple as these. I don't want to bog this down explaining how they work because few would use them. You can try the various options to see how they affect the timing of the transformation.
Lines 8 – 11 are the vendor codes for a transformation. There are different transformations, covered in separate tutorials to keep this shorter, so for here and now we are concerned with the rotate transformation.
Line 12 is the actual CSS transform property. Notice I set the rotation to 720 degrees. That's why it rotates twice before stopping. If I set it to 180 degree the image would rotate half way around and stop in the upside-down position.
You can rotate an element to whatever degree you want, just be sure to use the same thing in all the vendor codes and the CSS property so it will work the same for everyone.

For the best results you should set the width and height for the division if you do use it with text. You’ll also want to test how it works. The shape and location of the division can affect how well it works. It often works best if the width and height of the division are the same size or close to the same.
Here’s an idea . . . create an image gallery where the pictures are all upside-down until the cursor is placed on the image, then the picture rotates right-side-up for viewing. There’s a small example below. Place your cursor on an image to have it rotate right-side-up. Try them all, each one is different.


Used 1.5s instead of 1s
Used 180deg instead of 720deg (720 degrees made it spin around twice)
Image 2:
Used .5s instead of 1s
Used ease-out instead of ease-in-out
Used -180deg instead of 720deg
Image 3:
Used linear instead of ease-in-out (linear timing plays the same speed all the way through)
Used 540deg instead of 720deg
That’s it for this tutorial. I’m sure you can find a cool place or three to use it. Be sure to check out our other HTML and CSS tutorials for more coding goodies.